Since my last post I have continued with the experimenting with the different techniques. Here are some of my prints:
I experimented with using torn paper and just used monochrome colours. The image was very simple but it gave me a feel for the effect that I could get from printing in this way. the bottom right was the most successful. over laid the torn image in different shades of grey.
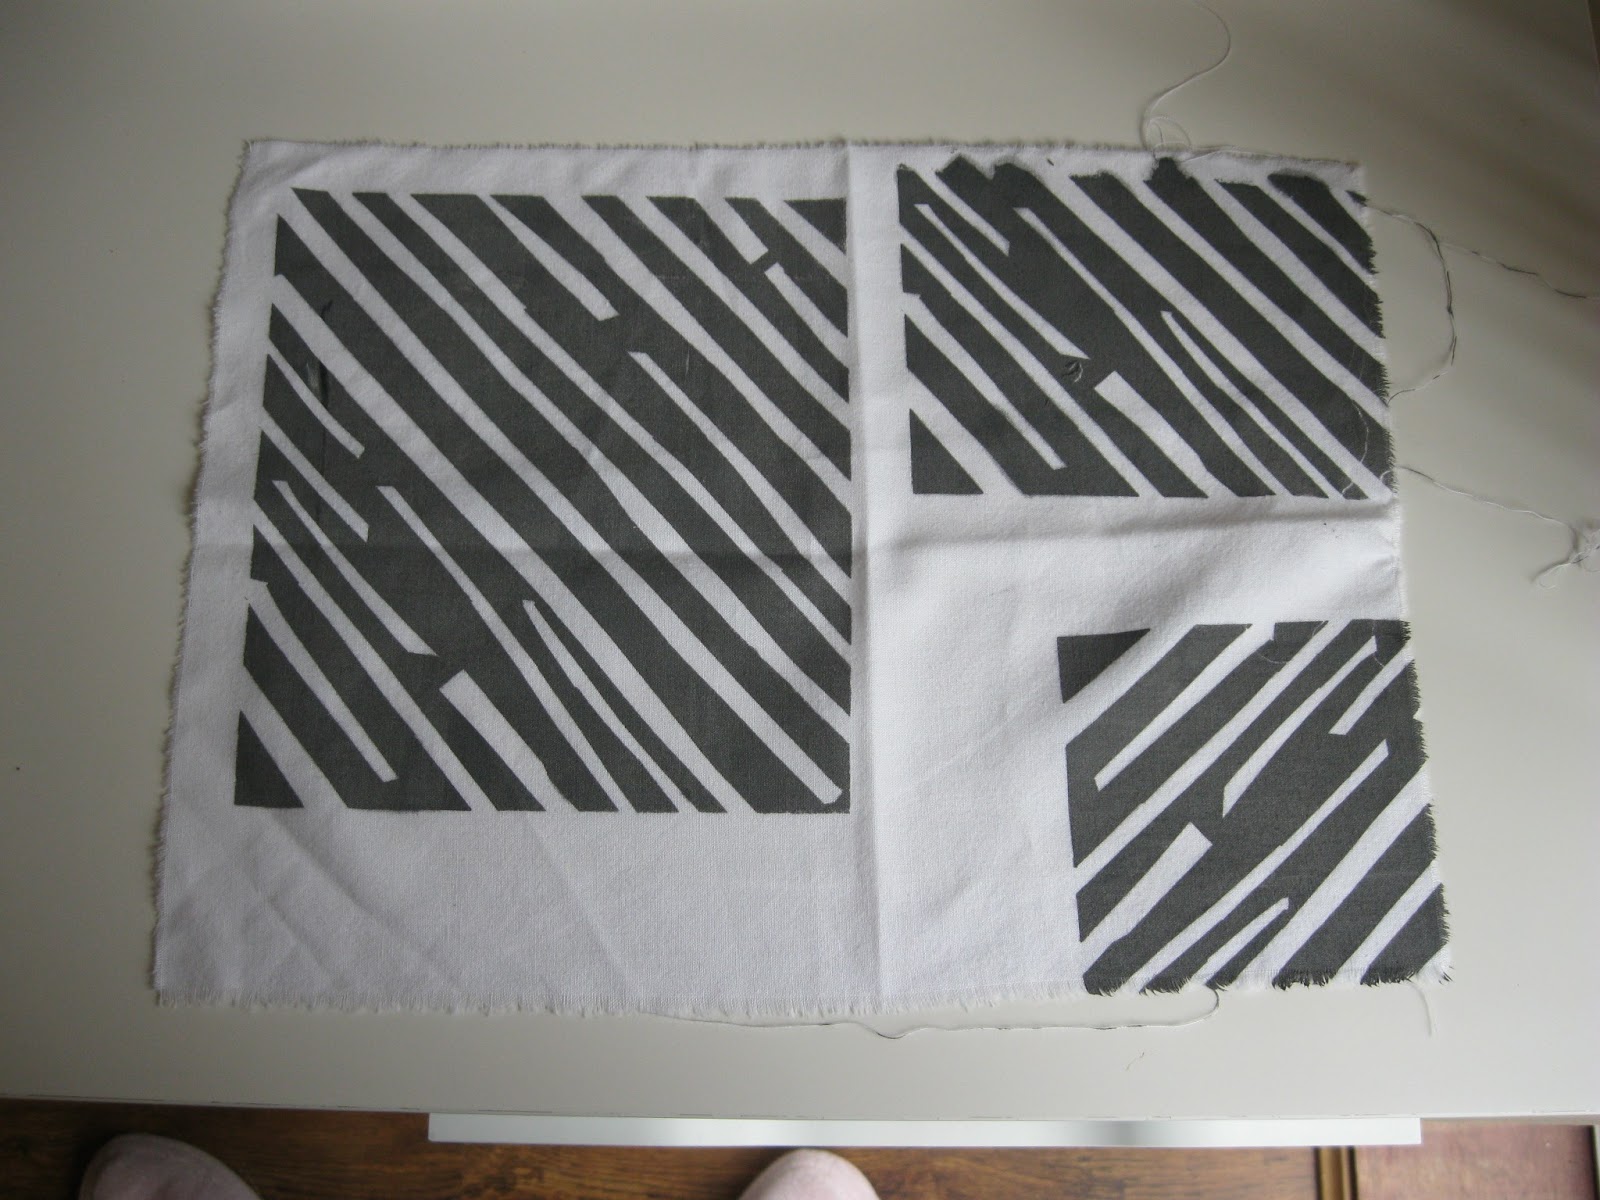
With this image I used striped of masking tape stuck to the screen, making a striped pattern in a square. I used discharge paste on different fabric to see what effect I would get as I had never used it before:
These two fabric were a wool mix, fabric that is used to cover snooker tables.
The poly cotton on the right was only faint.
tried using already printed fabric to see how it would look.
I then used the same imaged and printed with the monochrome colours again. The first image bleed I think that was because there was to much water added to the fabric paint which I did to make it go a little further. Then I played with repeating the image and printing it on different coloured fabrics.
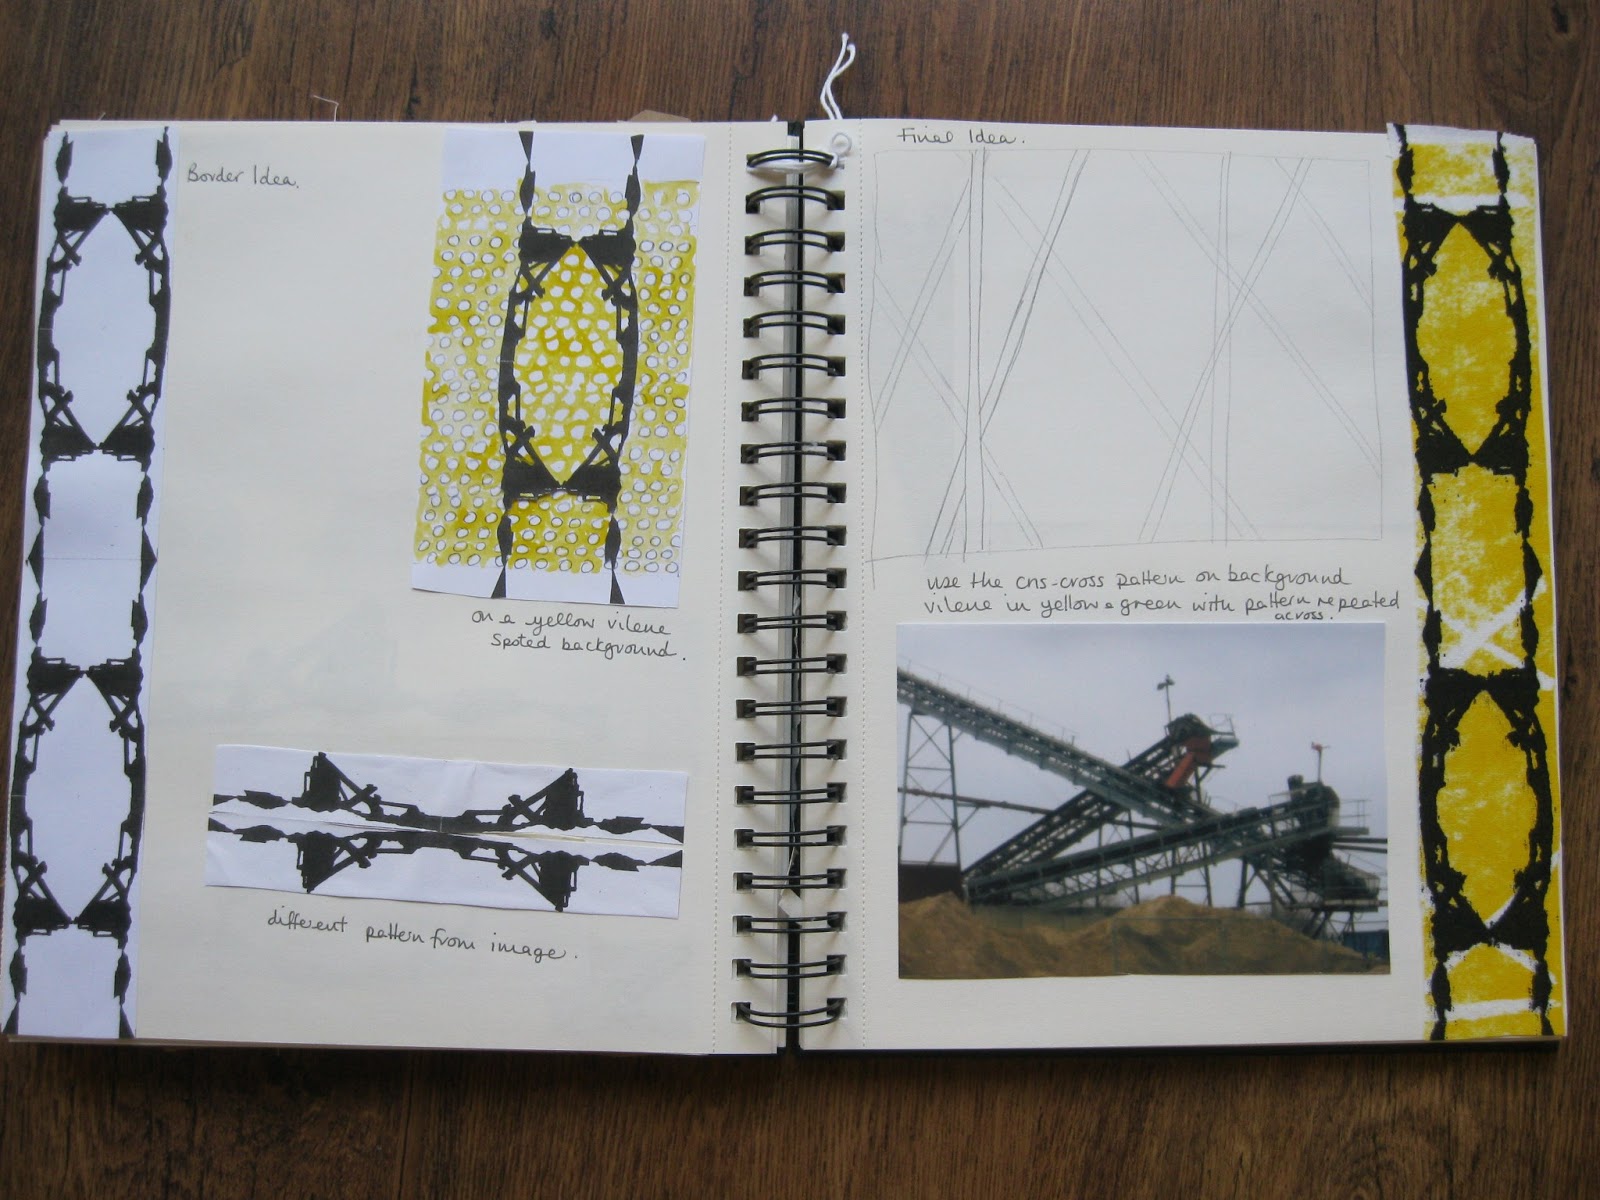
I tried printing with Vilene and it was more successful. I quickly painting a simple repeat pattern onto the Vilene ( stencil bottom right) and used 3 shades colours Yellow, red and blue. I first printed the yellow and then red over the top. On the second print I pulled more red through the screen which gave me the darker orange colour and finally on my final print I pulled the red through and then used a small amount of blue. By the last print the image was becoming less but it gave an interesting effect. I really like the effect that you get from using this technique. It gives a textured print and I love that the image is not sharp.


After my last attempt of using discharge printing I decided to dye my own fabric. I wanted to have a more textured coloured fabric to print on instead of just a flat colour and also I have never used Procion mx dyes before. I tried a layered approach of dying and used 2 colours Golden Yellow and Blue. I also used a pipette to drop the colour onto the fabric and a sponge. I dyed some fabric a flat blue, yellow and green as well to use up the dye. I did not have a lot of time so the colours were not very strong as I did not leave the fabric in the dye for s long as I would have like to but I did get some interesting effects. I hope to find some time in the future to experiment with dyeing fabric and the different techniques that I can be use in future projects.

I then experimented with discharge paste on the fabric that I printed. I used a simplified image from one of my drawings in my sketch book and stuck masking tape to the screen and pulled the discharge paste through the screen. The discharge fluid behaved differently on the fabric. the most interesting effects achieved were top right and bottom left. In the top right the darker dyed parts of the fabric remained and did not bleach out and the bottom left which was on a blue/green dyed fabric, the imaged I discharged came out an orange colour.
As I have gone through this stage of this assignment I feel that I have gain in confidence with using the screen. The last two experiments definitely feel more successful.