


Netting is a great technique that can conceal a background with interest. There are many pockets that can be look through or concealed.
I then looked at workshop 5 and dug out my laminator. I chose this workshop as I felt that the transparency that could be created would be interested.

These are my first sample I was just looking at transparent and thicker fabrics together.


I then trapped some found objects, I loved the feathers.

I then experimented with cutting laminate up and sewing it together. I just tried to do a scattered feel.

I looked at images of stain glass windows and the effect of stain glass windows when light was shined through and then did this sample.
I then looked at trapping gather fabric in the laminator, a gather fabric has become 3 dimensional and I thought that it would be interesting to make it 2 dimensional again and see the lines created. Then I moved on the cutting holes in the laminate and pulling the fabric through.


I then moved onto Workshop 6. I really enjoyed this workshop. Some of the samples were more successful than other. I used many different techniques to create a different effect with the fabric.

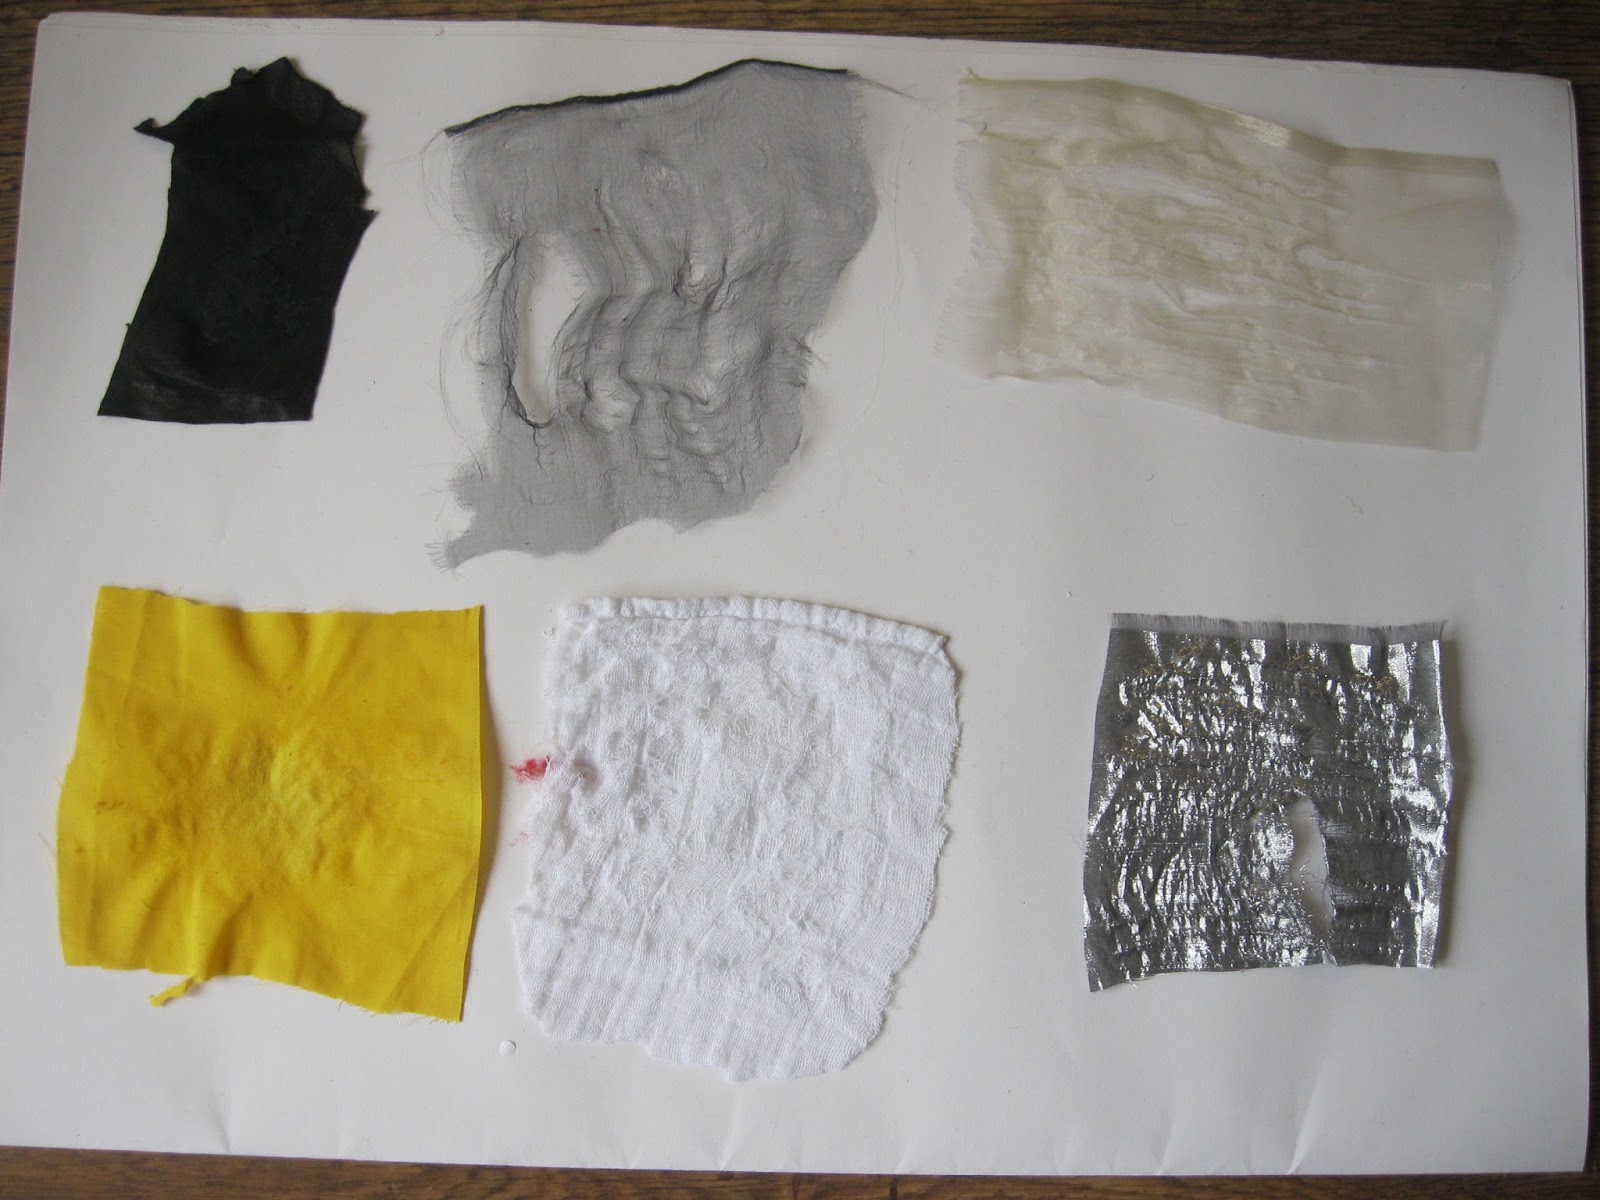
Above I used Painted Tyvek fabric that was melted and then sewn onto fabrics, trapped treads between transparent fabric, sewn water soluble fabric, sewn paper that is cut to reveal what was underneath, and the last sample that was sewn and then the layers of transparent fabric was melted.

In these samples I experimented with melting plastic bags.

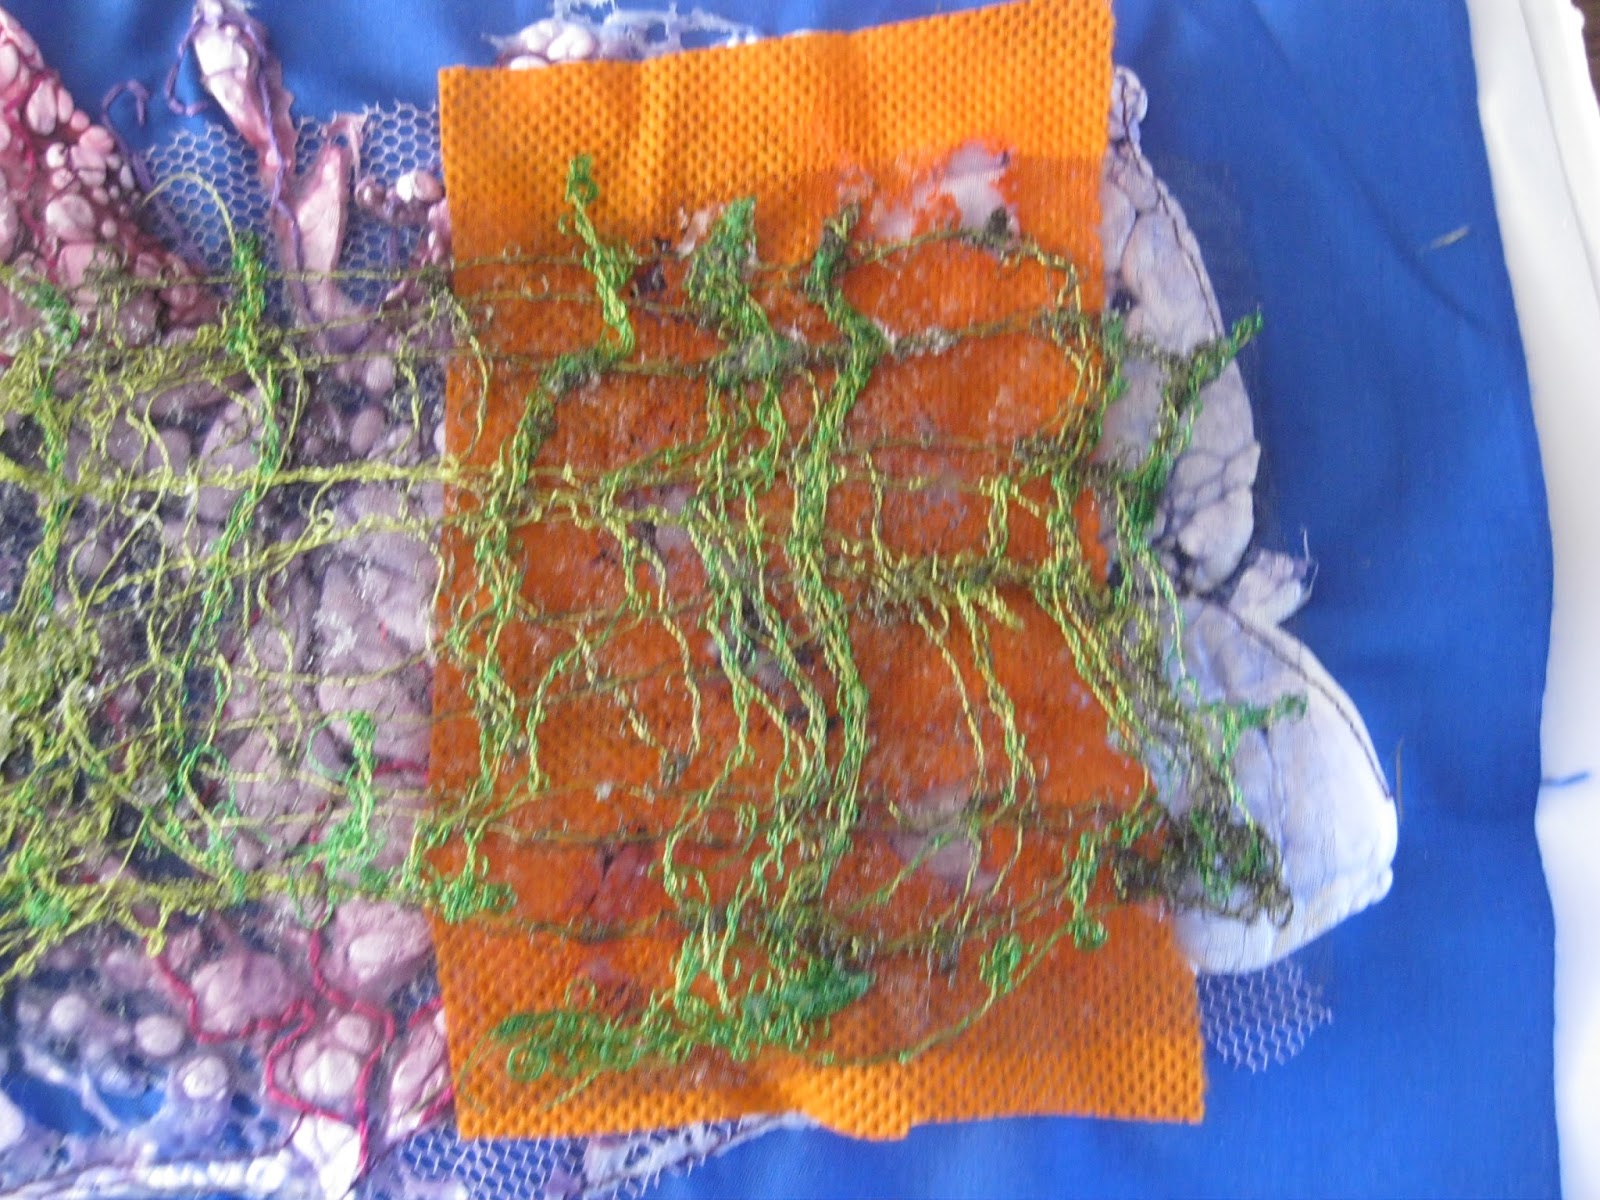
In these samples I weaved ribbon, again melted fabric and trapped scraps of fabric to create a new fabric.
Lastly I looked at workshop 7 Deconstructing fabrics as I felt that these techniques would work well with workshop 6. I decided that I would chose a number of different techniques to deconstruct the fabrics and try it out on different fabrics to see how the different fabric reacted.
These first sample have been melted with a heat gun.

These samples were melted with a soldering iron. I was able to have more control of where the burn happened.

These samples were created using a hole punch and sand paper. The sand paper soften some of the fabrics.


These were distressed using scissors. I found that on some thicker fabrics the scissors soften the fabric.
I pulled threads out of these fabrics.

I then looked at overlaying some of my samples to see what effects were created and using like with some of the samples:


Here are some of the experiments I did with light. They did not come out very well as I was using a torch.


No comments:
Post a Comment